Posts

Azure DevOps Docker DotNet Build Agent

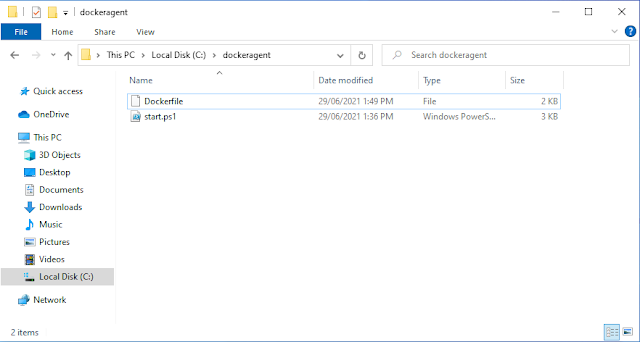
This blog post presents how to create and run a DotNet Azure DevOps pipeline as a Docker container. However, there is a slight problem when running VSTest on this container, and the remedy to this problem is explained in this post. Sources related to this container are located in this GitHub repo . Steps to create, run and test Docker DotNet build agent  Clone this GitHub repo to the local machine. Open a Powershell window and navigate to the folder where the cloned project is located. Execute “ docker build -t dockeragent:latest . ” to create the Docker image. Execute “ docker run -e AZP_URL=<Azure DevOps instance> -e AZP_TOKEN=<PAT token> -e AZP_AGENT_NAME=mydockeragent -e AZP_POOL=<(optional) pool to register the agent under> dockeragent:latest " to run a container based on the created image. Please remember to replace the placeholders with the information related to your Azure DevOps project. In a web browser navigate to the Agents tab under the Agent pool y

Dockerizing WSO2 hospital service from source

In this blog post, we are going to build the hospital service backend jar used in WSO2 Enterprise Integrator samples from the source and bundle it inside a Docker container. Sources for this project are available in this GitHub repo . Steps to create, run and test the hospital service docker container Clone the GitHub repo to the local machine. Open a Powershell window and navigate to the folder where the cloned project is located. Execute “ docker build -t hospitalserviceagent:v2 . ” to create the Docker image. Execute “ docker run -p 9090:8080 hospitalserviceagent:v2 ” to run a container based on the created image. Navigate to http://localhost:9090/healthcare/surgery in a browser window and you should see an output as in step 5 in Sending requests to the ESB . Explanation   This Docker file used two docker images in a two-step process to build this final Docker image.  The first step is the build stage which uses the maven:3-openjdk-8 image as the build image. This image has an ope

Dockerizing WSO2 hospital service jar

In this blog post, we are going to build a Docker container to run the hospital service backend jar used in WSO2 Enterprise Integrator samples. Sources for this project are available in this GitHub repo . Steps to create, run and test the hospital service docker container Create a new folder and download the Hospital-Service-2.0.0-EI7.jar file and Dockerfile into the folder. Open a Powershell window and navigate to the folder where files are downloaded to. Execute “ docker build -t hospitalserviceagent:v1 . ” to create the Docker image. Execute “ docker run -p 9090:9090 hospitalserviceagent:v1 ” to run a container based on the created image. Navigate to http://localhost:9090/healthcare/surgery in a browser window and you should see an output as in step 5 in Sending requests to the ESB . This Hospital-Service-2.0.0-EI7.jar file in the above repository is downloaded from the WSO2 Docs GitHub repo. Instead of using the jar file link from above step 1, you can use the jar file from the

Running a Docker build agent on Azure Kubernetes Service (AKS)

Image
In this blog post, we are going to run the Docker build agent we created in a previous blog post and run it on Azure Kubernetes Service (AKS).  Prerequisites   1. An Azure DevOps project to connect the AKS hosted build agent. We are going to use the PartsUnlimited project we created in an  earlier post  which meets these criteria. 2. Have Docker installed on your local machine with the ability to create and run Windows containers (Refer to the troubleshooting section on this post for instructions on how to switch). 3. Have Azure CLI installed on your machine. Steps First, we are going to tag the previously created docker build agent with a new tag more suitable for version control, and run it to test operation. 1. To create the docker agent we need to create a new folder and download the following Dockerfile file . ( Link to the normal view ) and start.ps1 file . ( Link to the normal view ) files into a local folder as follows. 2. Then open a Powershell window and change the director

Deploying an Azure web app using Azure DevOps

Image
In this post, we are going to deploy a web app built using Azure DevOps. For this post, I will be using the Azure DevOps project built using an Azure VM in a previous post. We will be using the same Azure VM agent to run the release pipeline and will create a new web app with an Azure SQL server connection to deploy the web app to. Prerequisites   1. An Azure account (which you can create following the instructions on a  previous post ), with an Azure VM, configured as a build agent (which I configured and used in this previous post ). We will use this account to create a new Azure web app resource to deploy the project to. 2. An Azure DevOps organization (which you can create following the instructions on this  previous post ), to create the sample project. 3. An Azure DevOps project with a successfully built build pipeline. We are going to use the PartsUnlimited project we built using an Azure VM in an  earlier post  that meets these criteria. Steps There are two main sub-tasks invol