Running a Docker build agent on Azure Kubernetes Service (AKS)
In this blog post, we are going to run the Docker build agent we created in a previous blog post and run it on Azure Kubernetes Service (AKS).
Prerequisites
1. An Azure DevOps project to connect the AKS hosted build agent. We are going to use the PartsUnlimited project we created in an earlier post which meets these criteria.
2. Have Docker installed on your local machine with the ability to create and run Windows containers (Refer to the troubleshooting section on this post for instructions on how to switch).
3. Have Azure CLI installed on your machine.
Steps
First, we are going to tag the previously created docker build agent with a new tag more suitable for version control, and run it to test operation.
1. To create the docker agent we need to create a new folder and download the following Dockerfile file. (Link to the normal view) and start.ps1 file. (Link to the normal view) files into a local folder as follows.

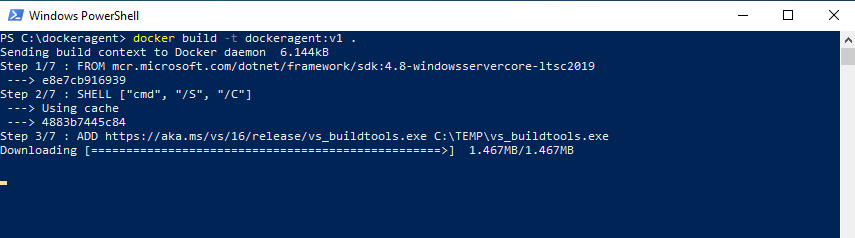
2. Then open a Powershell window and change the directory to the folder containing the above two files, and execute "docker build -t dockeragent:v1 ." to create the Docker agent image with v1 tag.
3. After the image creation finishes run a container based on the created image by executing the following command.
With the above command execution, an agent container will start and listen for jobs with the following logs.

4. Log in to your Azure DevOps organization following the value used for AZP_URL in the above command and navigate to the respective agent pool specified in the above command and make sure that the running agent is listed under the Agents tab as follows.

After verifying the created agent image, the next step is to create an Azure container registry to upload our new image, so that it can be used to create containers using AKS. To do this we are going to use Azure CLI on windows.
5. The first step of using Azure CLI is to log in to the tool. To do that execute "az login" in a Powershell window. This will launch a login screen in your default browser where you can enter your credentials for Azure.
6. After logging in we will create a new resource group using the following command.
az group create --name myResourceGroup --location eastus
7. Next we will create an Azure container registry, using the following command.
az acr create --resource-group myResourceGroup --name partsunlimitedbuildagentacr --sku Basic
8. Then we can log in to the created Azure container registry using the below command.
az acr login --name partsunlimitedbuildagentacr
9. After logging into the created Azure container registry we can upload the created Docker image. First, we will execute "docker images" and make sure the created image with tag exist among the local images.
10. Next we will retrieve the new Azure container registry's login server name using the following command.
az acr list --resource-group myResourceGroup --query "[].{acrLoginServer:loginServer}" --output table
11. Then we can tag the newly created image with the login server address using the following command.
docker tag dockeragent:v1 partsunlimitedbuildagentacr.azurecr.io/dockeragent:v1
12. Next execute "docker images" again to make sure that there is a newly tagged Docker image.
13. Then execute the following command to upload the image to the created Azure container registry.
docker push partsunlimitedbuildagentacr.azurecr.io/dockeragent:v1
14. After the upload process finishes, we can verify that the image is available in the Azure container registry using the following two commands.
az acr repository list --name partsunlimitedbuildagentacr --output table
az acr repository show-tags --name partsunlimitedbuildagentacr --repository dockeragent --output table
After uploading the image and verifying its availability, the next step is to create an Azure Kubernetes Service cluster to deploy the agent containers.
15. Execute the following command to create an AKS cluster that supports windows servers. [Doc Link]
az aks create --resource-group myResourceGroup --name myAKSCluster --node-count 1 --enable-addons monitoring --generate-ssh-keys --windows-admin-username winbuildagentadmin --vm-set-type VirtualMachineScaleSets --kubernetes-version 1.20.5 --network-plugin azure --attach-acr partsunlimitedbuildagentacr
Note that the above command will ask you to enter a password for the windows admin user.
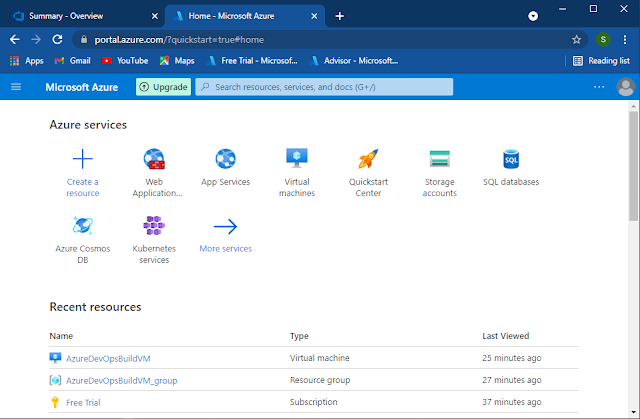
16. After successful completion of the above command we can start creating Windows nodes in the created cluster via the Azure portal web page. To start the process log in to the Azure portal.

17. Search for resource groups and select resource groups on the above page to get a list of resource groups.

18. Click on "myResourceGroup", in which we created the AKS cluster.

19. Click on "myAKSCluster".

20. Click on "Node pools" from the menu pane on the left.

21. Click on "+ Add node pool" on the above screen.

22. Give the new name pool a name and select parameters for it similar to the above screenshot. Click "Review + Create"

23. After validation passes, click "Create". You will get a notification indicating that the node pool creation has started. At the end of the pool creation stage, you will see your new node pool listed on the node pool page as follows. Please note that the node pool name was changed from the above screenshots in the creation process, so the new node pool has a different name in the following screenshot. The new node pool is created with the name you provide in the above steps.

After the creation of the windows node to run our agent container on, the next step is to run the container on the AKS cluster, To do that we need the kubectl CLI tool.
24. To install kubectl, run the following command in Powershell.
az aks install-cli
25. Then we need to login to the AKS cluster using the following command.
az aks get-credentials --resource-group myResourceGroup --name myAKSCluster
26. Execute "kubectl get nodes" to list nodes in the cluster. In this example case there should be two nodes running from each node pool.
27. Next create a new folder and download this agent.yaml (Link to the normal view) file into it. Open the file and replace placeholder values for Azure container registry name, Azure DevOps organization URL, Personal Access Token and the agent pool name.

28. Change directory to the folder containing the above agent.yaml file, and execute the following command to create and run a pod with the above settings.
kubectl create -f .\agent.yaml29. Following commands are useful to check the status of the newly created pod.
Information about the pods on the cluster
kubectl get pods
Describe pod information
kubectl describe pods <(optional) pod name>
Check the logs of a pod
kubectl logs <pod name>
30. After some time the pod status will change to "running" and the pod's logs will show that the agent is listening for jobs just like when we were running the Docker container locally. When you see the "listening for jobs" logs you can navigate to the Agent tab of the specified Agent pool in your DevOps organization and see that a new agent is connected with the running pod name as follows.

This brings us to the end of this blog post, but there are many things you can try out with this new setup. One of the useful things is scaling the agents. In AKS you can either manually scale the number of agent pods or set up auto-scaling. Also currently we are using the pod name as the agent name which could result in a lot of agent names under that Agents tab of the agent pool. An extension idea might be to set the agent name based on a predefined list of numbers or based on the number of running pods to reuse the agent names.


Comments
Post a Comment