Creating a Microsoft Azure account
Introduction
In this blog post, we are going to create a Microsoft Azure account, which we are later going to use with an Azure DevOps account to deploy developed applications.
Prerequisites
You will need an email account that is not used to create an Azure account previously. In this case, I created a new Gmail account.
Steps
1. Navigate to azure.microsoft.com

2. Click "Start free" on the web page, and it will lead to the following web page.

3. Click "Create one!", below the email address text box, to get to create an account web page.

4. Enter your email address and click "Next".
5. On the next web page enter a password and click "Next".

6. You will receive an email with a verification code which you will have to enter in the verification page that comes next.

7. After entering the verification code, you might have to do a captcha challenge. Click "Next" and complete the challenge.

8. Next, you will go through a set-up process for the new account. For this process, you are going to need a phone number and a bank card to verify your identity. As the First step, you will have to fill in all the required details and click "Next".

9. The second step is to verify the phone number.

10. The third step is to verify a bank card. This card will not be charged for the free account unless you upgrade.

11. After verifying your identity a feedback form will be displayed until the account set up completes. Once the set up completed you see the setup confirmation page shown below with your details. On this page, you can Register for the Azure demo and a live Q&A session. Also, you have the option of letting Azure know about your development goal so they can give you the relevant resources and recommendations.

12. Click the "Build in the portal" to navigate to the Azure portal. This will open up the Quickstart Center.

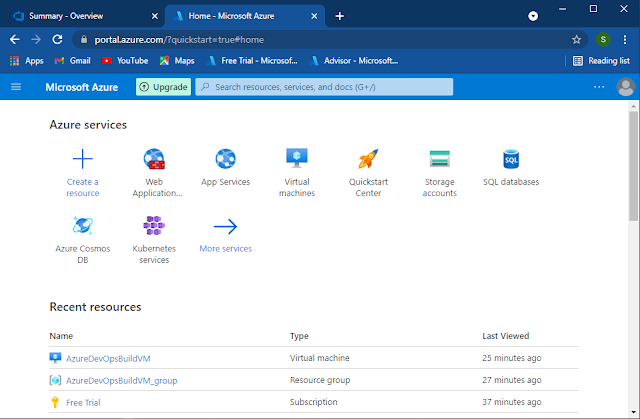
14. You can navigate to Azure portal home by clicking on the "Home" link in the top left corner of the web page or by navigating to portal.azure.com. Since this is the first time this portal is visited, it will prompt you for a tour of the portal. You will receive a notification mentioning the remaining balance of Azure credits for your account.

This concludes the creation of your Azure account. In the next blog post, we will create an Azure DevOps account to start the development of a project to be hosted using the created Azure account.


Comments
Post a Comment